
2. Setting up the environment
This lesson is an onboarding to get your computer ready before we start. It is designed for Windows, which is what we use at Core Marine, and is based on the internal introduction guide. It does not count as a class lesson: you follow it at home, with the support of the digital team, and you arrive in the classroom with everything working.
Don't rush. Half of the problems people carry for an entire course come from a poorly set up environment on day one.
Installing the tools
We are going to install two things: uv and Python.
uv is the tool that ties everything together. It installs Python for you and manages the project's dependencies without you having to fight with versions. If you come from installing Python by hand from the website, forget that path: with uv it is faster and gives fewer problems.
Once uv is installed, Python is installed with a single command, without downloading anything from the Python website:
uv python installWhen you are done, check that it responds:
uv --versionIf it returns a version number, you are on the right track.
Configuring VSCode for Python
We recommend VSCode as the editor. It is the most used one at Core Marine, so if you get stuck it is easier to find someone to lend you a hand. The editor comes fairly bare out of the box for Python, and this is where a lot of people stop halfway. We are going to fine-tune it.
- Install the official Python extension (from Microsoft) and Pylance, which gives you autocompletion and code intelligence.
- Install the Ruff extension, which warns you of problems and formats the code. It reads the configuration from the project's
pyproject.toml, so the whole team formats the same way. - Select the correct interpreter: open the command palette and search for
Python: Select Interpreter, and choose the one from the.venvvirtual environment. The extension usually detects it on its own, but it is good to know how to do it by hand. - Enable format on save with Ruff as the default formatter. This way you stop arguing about spaces: it tidies itself up every time you save.
- Configure the test panel (Test Explorer): search for
Python: Configure Tests, choosepytestand thetests/folder. From there you can run and debug the tests from the sidebar, with one click. - Get familiar with the debugger: set a breakpoint (a click in the left margin, next to the line number) and step through it. It is far more useful than filling the code with
print, and we will see it in detail later, in the testing lesson.
All of this configuration lives in the project's .vscode/settings.json file, so it can be shared with the team and everyone starts the same way.
Starting a project
With the tools in place, creating a project is a matter of seconds:
uv init metocean-tools
cd metocean-tools
uv init creates the basic structure and the pyproject.toml (the project's dependency list).
Then we create and activate the virtual environment:
uv venv
.venv\Scripts\activate
A virtual environment is a folder that isolates this project's dependencies from the rest of the system. This way, if one project needs one version of a library and another needs a different one, they don't clash.
And we add dependencies when we need them. For example, a library to validate input data:
uv add msgspecuv add downloads the library and records the exact version in pyproject.toml. That detail is gold: it means a colleague can copy your project and reproduce it without those weird "works on my machine" errors.
In the next lesson we recover this same environment and use it as a starting point. We are not going to install anything again.
This work is under a Attribution-NonCommercial-NoDerivatives 4.0 International license.
:quality(85)/https://andros.dev/static/img/components/license/by-nc-nd.png)
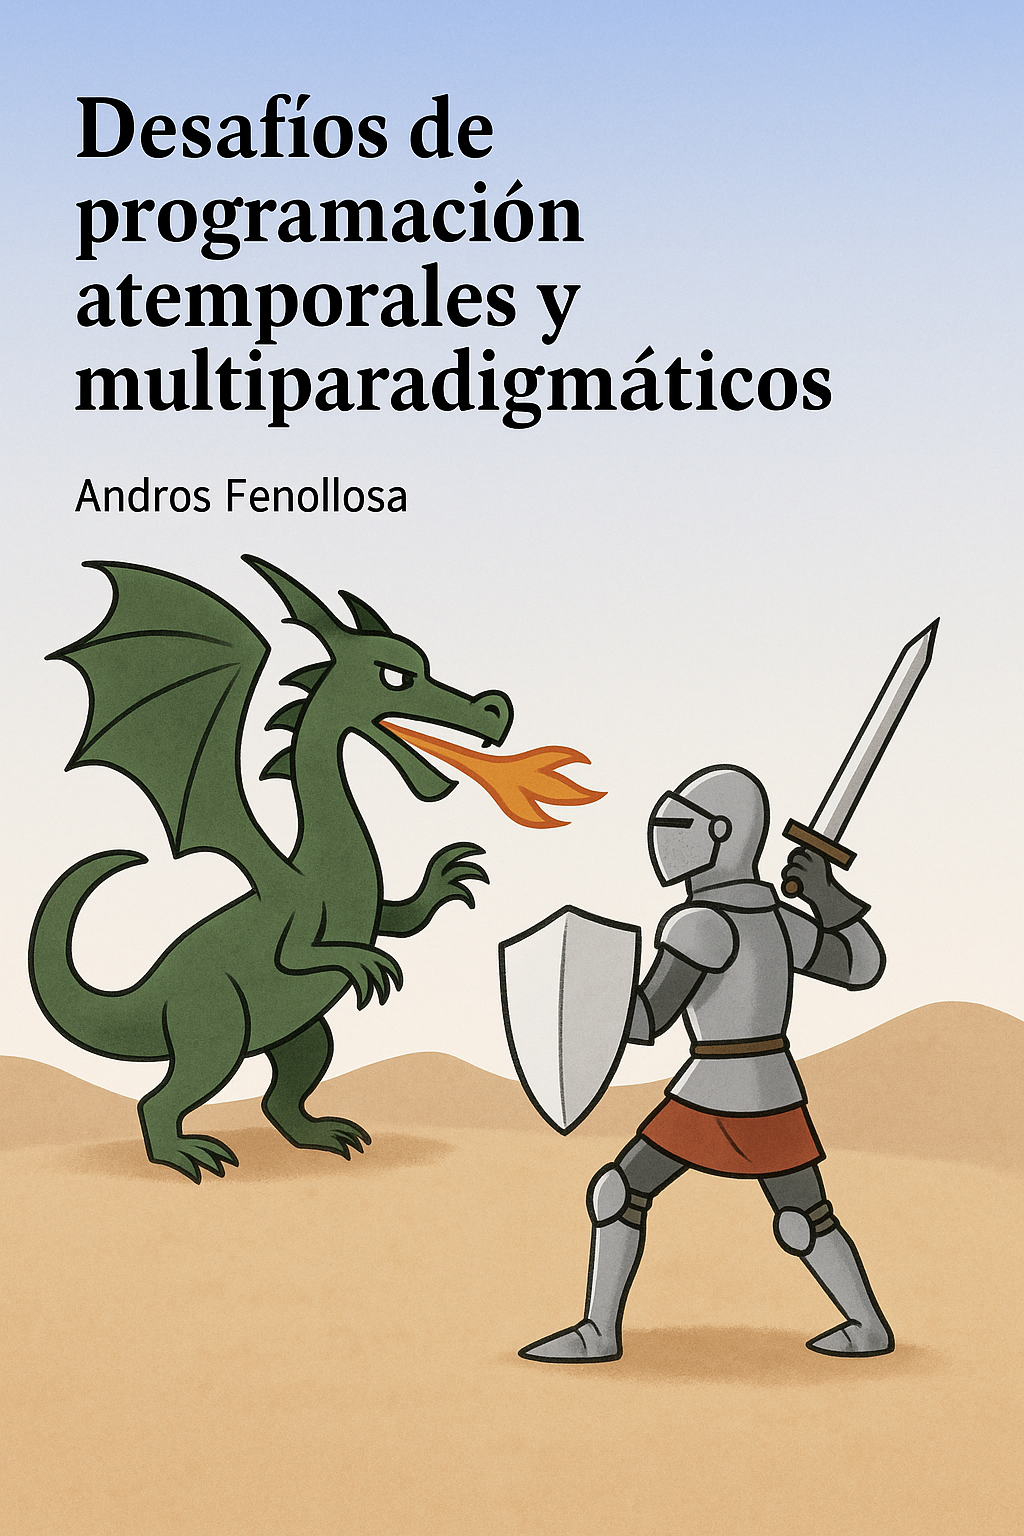
Desafíos de programación atemporales y multiparadigmáticos
Te encuentras ante un librillo de actividades, divididas en 2 niveles de dificultad. Te enfrentarás a los casos más comunes que te puedes encontrar en pruebas técnicas o aprender conceptos elementales de programación.
Buy the book Sure, it's on me!
Comments
There are no comments yet.